
Why do oscillating knife cutting machines need precision adjustment?
Oscillating knife cutting machines rely on high-frequency vibrating blades to cut flexible materials, and their precision is affected by multiple factors such as mechanical assembly, motion control, tool condition, material characteristics, and environment.
After new machine installation or long-term use, problems such as cutting dimension deviation, non-vertical cut edges, and corner overcuts gradually appear.Through systematic precision adjustment, cutting error can be stably controlled within ±0.1 mm, meeting the stringent requirements of industries such as automotive interiors, advertising signage, and composite materials.
1. Mechanical precision adjustment: eliminate error from the source
1. Guide rail and rack clearance adjustment
Worn guide rail sliders or excessive rack meshing clearance can cause motion vibration. Use a dial indicator to measure the lateral clearance of the slider, which should be ≤0.02 mm; adjust the rack meshing clearance to 0.05–0.1 mm through the eccentric bearing. After adjustment, manually push the gantry, and there should be no jamming throughout the travel.
2. Tool head verticality calibration
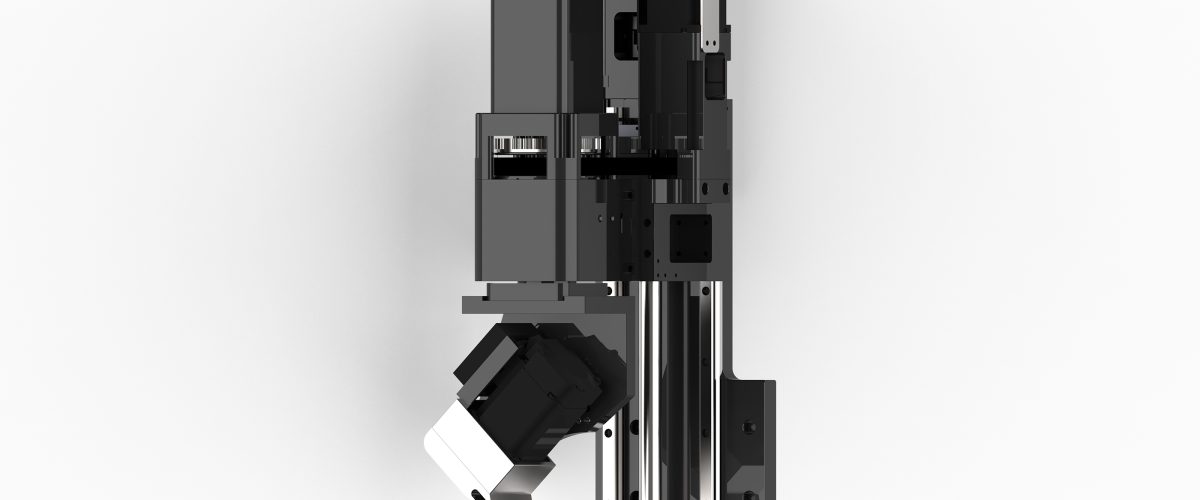
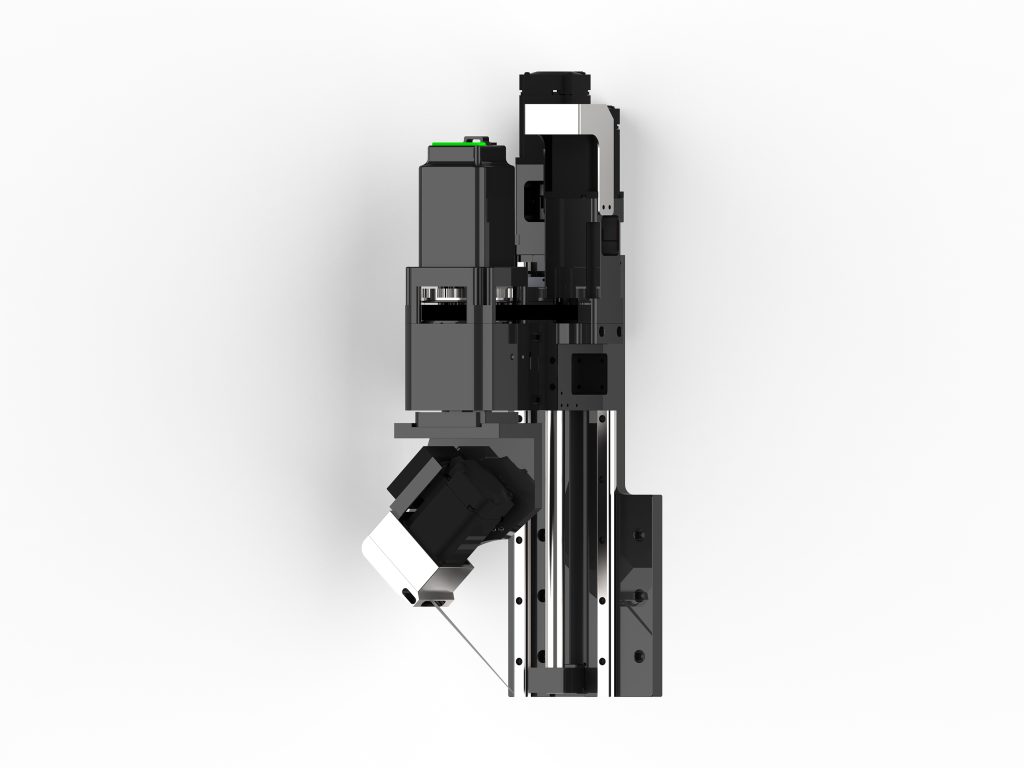
If the tool head is not perpendicular to the table, the cut edge will be slanted. Place a right-angle square on the table and use a feeler gauge to measure the gap between the blade holder and the square; the top-to-bottom difference should be ≤0.05 mm/100 mm. If out of tolerance, adjust the shims or set screws on the tool head mounting plate.
3. Table flatness inspection
An uneven table can cause local warping after the material is adsorbed. Use a dial indicator along the diagonal, and the flatness should be ≤0.15 mm/m. If out of tolerance, correct it by adjusting the table support bolts or adding shims.
4. Belt tension adjustment
If the timing belt is too loose, it will cause backlash. Use a tension gauge to measure at the midpoint of the belt span; the deflection should be 1/100–1/80 of the span. After adjustment, manually move the tool head back and forth; the resistance should feel uniform with no change in tightness.
2. Motion parameter optimization: balance speed and precision
1. Acceleration and corner deceleration
Excessively high acceleration can cause overshoot and vibration. It is recommended to set the X/Y axis acceleration to 0.5–1.5 m/s², and use arc transition or reduce speed to 30%–50% of the feed rate at corners. For sharp corners with R<5 mm, enable the “corner deceleration” function and set the deceleration threshold to 0.3–0.5 g.
2. Servo gain adjustment
If the position loop gain is too high, it will cause squealing and oscillation;if too low, the following error will be large.Observe the following error curve through the drive software, adjust the position loop gain until the error fluctuation is ≤0.05 mm, and set the velocity loop integral time to 10–20 ms.
It is recommended to adjust the velocity loop first and then the position loop.
3. Backlash compensation
Set the backlash compensation value in the control system parameters (usually 0.02–0.1 mm). Measure the forward and reverse positioning error with a laser interferometer or dial indicator, and enter the average of multiple measurements into the compensation table.

3. Tool and cutting parameter adjustment
1. Blade selection and installation
Select the blade angle according to material hardness: use 15°–20° pointed blades for soft materials and 30°–45° angled blades for hard materials. During installation, ensure the blade is clamped securely without looseness, and the blade tip runout is ≤0.03 mm. Check blade wear regularly and replace it promptly when cutting burrs increase.
2. Vibration frequency and amplitude matching
The vibration frequency is usually set to 8,000–20,000 strokes/min, with an amplitude of 0.5–2 mm. For cutting thin soft materials, use high frequency and small amplitude (e.g., 15,000 strokes/min, 0.8 mm); for thick hard materials, use low frequency and large amplitude (e.g., 10,000 strokes/min, 1.5 mm). After adjustment, observe the cut edge; it should be flat without serrations.
3. Cutting speed and feed rate
If the speed is too fast, the cut may be incomplete or the blade may deflect. It is recommended to set the initial speed to 10–20 m/min, and reduce it by 2–3 m/min for each 1 mm increase in material thickness. Adjust through trial cutting, using the criterion that the bottom of the cut has no adhesion and the top has no melted edge.
4. Tool down-pressure and overcut control
Excessive down-pressure will accelerate blade wear and damage the table, while too little will result in incomplete cutting. Set the down-pressure to 105%–110% of the material thickness, and enable the “overcut compensation” function to add 0.1–0.2 mm of overcut at corners to offset the undercut caused by the tool radius.
4. Material fixing and adsorption optimization
1. Vacuum adsorption pressure adjustment
Insufficient adsorption force will cause material displacement. For breathable materials, the vacuum pressure should be ≥-0.06 MPa; for dense materials, it can be reduced to -0.04 MPa to avoid marks. When using zoned adsorption, ensure the cutting area is fully covered.
2. Material flatness pretreatment
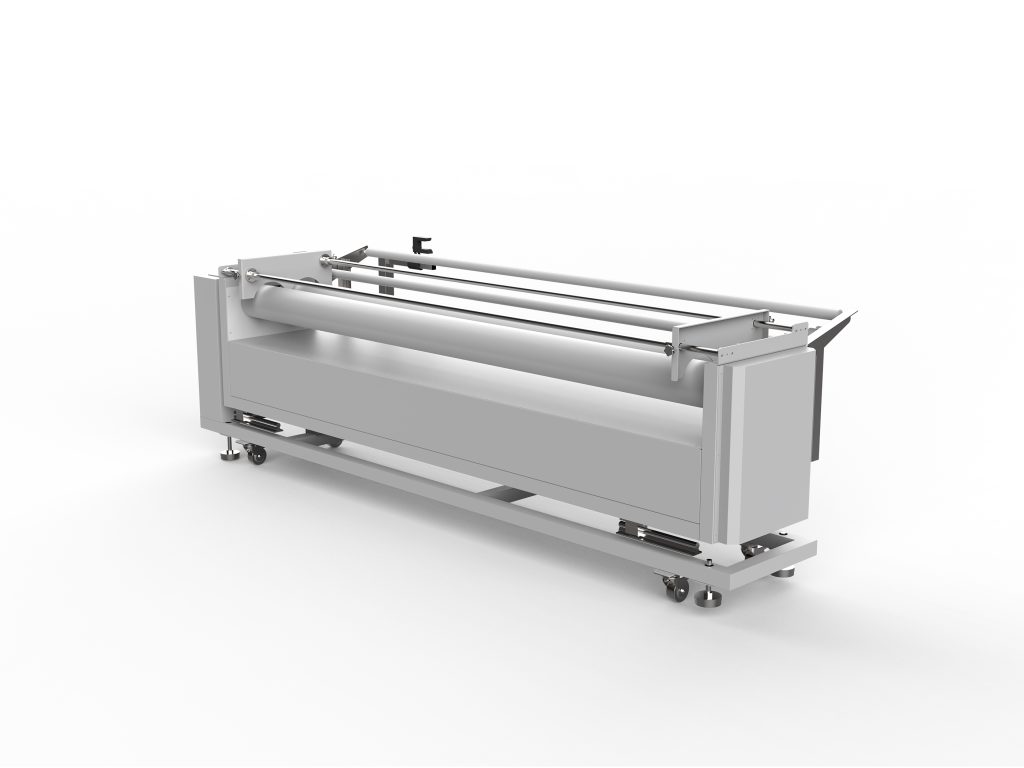
Roll materials need to be fully flattened; if necessary, use a preheating roller (40–60°C) to eliminate internal stress. Sheet materials should be placed flat, with warpage ≤2 mm/m. For multi-layer cutting, fix each layer with double-sided tape to avoid interlayer slippage.
5. Environment and daily maintenance
1. Temperature and vibration isolation
Ambient temperature fluctuation should be controlled within ±2°C/h, and the machine tool should be kept away from vibration sources such as stamping equipment. If necessary, install damping pads, and the foundation vibration velocity should be ≤0.5 mm/s.
2. Regular precision verification
Every week, use a standard circular test piece to check roundness (≤0.1 mm); every month, use a laser interferometer to check positioning accuracy (≤0.05 mm/300 mm). Establish a precision file and record data trends before and after adjustment.
3. Cleaning and lubrication
Clean dust from the guide rails and rack every shift, add lithium-based grease to the guide rail sliders every week, and check timing belt wear every month. Keep the interior of the tool head clean to prevent dust from entering the vibration mechanism.
6. Troubleshooting table for common precision problems
- Non-vertical cut edge: Check tool head verticality, blade installation angle, and whether the down-pressure is too high.
- Corner overcut or undercut: Adjust corner deceleration parameters, overcut compensation value, and acceleration settings.
- Large dimensional deviation: Verify servo gain, backlash compensation, and belt tension.
- Cut edge burrs: Replace the blade, adjust vibration frequency and cutting speed, and check adsorption pressure.
- Poor repeat positioning accuracy: Check guide rail wear, screw/rack clearance, and motor encoder connection.
Through the above systematic adjustments, the oscillating knife cutting machine can maintain high-precision operation over the long term. It is recommended to record parameter changes after each adjustment and form a standardized work instruction suitable for your own materials and processes.
FAQ
What is the acceptable cutting error for oscillating knife machines after precision adjustment?
After systematic precision adjustment, cutting error can be stably controlled within ±0.1 mm, meeting the stringent requirements of industries such as automotive interiors, advertising signage, and composite materials.
How often should I check and adjust the precision of my oscillating knife cutting machine?
It is recommended to perform a comprehensive precision check every 500 operating hours or every 3 months, whichever comes first. Additionally, check critical parameters like blade runout and guide rail clearance after any collision or abnormal cutting results.
What are the signs that my oscillating knife cutting machine needs precision adjustment?
Signs include cutting dimension deviation, non-vertical cut edges, corner overcuts, increased burr formation, unusual vibration or noise during operation, and inconsistent cutting quality across the table.
Can I adjust the precision of my oscillating knife cutting machine myself?
Yes, many adjustments such as guide rail clearance, belt tension, and backlash compensation can be done by trained operators using basic tools like dial indicators and feeler gauges. However, complex servo tuning may require professional assistance.