
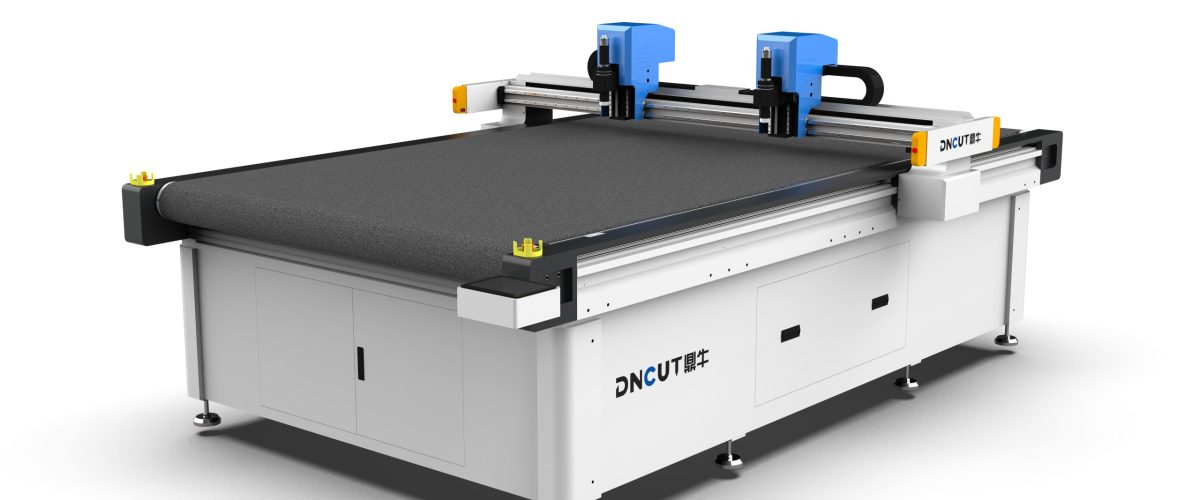
What Is a Membrane Proofing Machine?
A membrane proofing machine is a CNC device specifically used for cutting and proofing film materials, commonly found in packaging, electronics, automotive interiors, and other industries. It cuts film through a high-frequency oscillating blade (approximately 18,000-25,000 times per minute), requires no molds, and can directly output samples from CAD files, greatly shortening the proofing cycle. Compared with laser cutting, a membrane proofing machine does not produce burnt edges, making it especially suitable for heat-sensitive films such as PET, PVC, and TPU.
Core Parameters and Selection Points
1. Cutting Accuracy and Repeat Positioning Accuracy
The proofing stage has high precision requirements. Usually, the cutting accuracy should reach ±0.1mm, and the repeat positioning accuracy should be ±0.05mm. For electronic films (such as FPC coverlay), it is recommended to choose models with accuracy within ±0.05mm. Note the difference between static accuracy and dynamic accuracy; actual cutting is affected by the material fixing method and tool wear.
2. Cutting Thickness Range
The common cutting thickness of membrane proofing machines is 0.05-2mm (depending on material hardness). For example, PE film can reach 1.5mm, while PET film usually does not exceed 0.5mm. If thicker materials need to be cut (such as above 3mm), a high-power oscillating knife or a multi-pass cutting function should be selected.
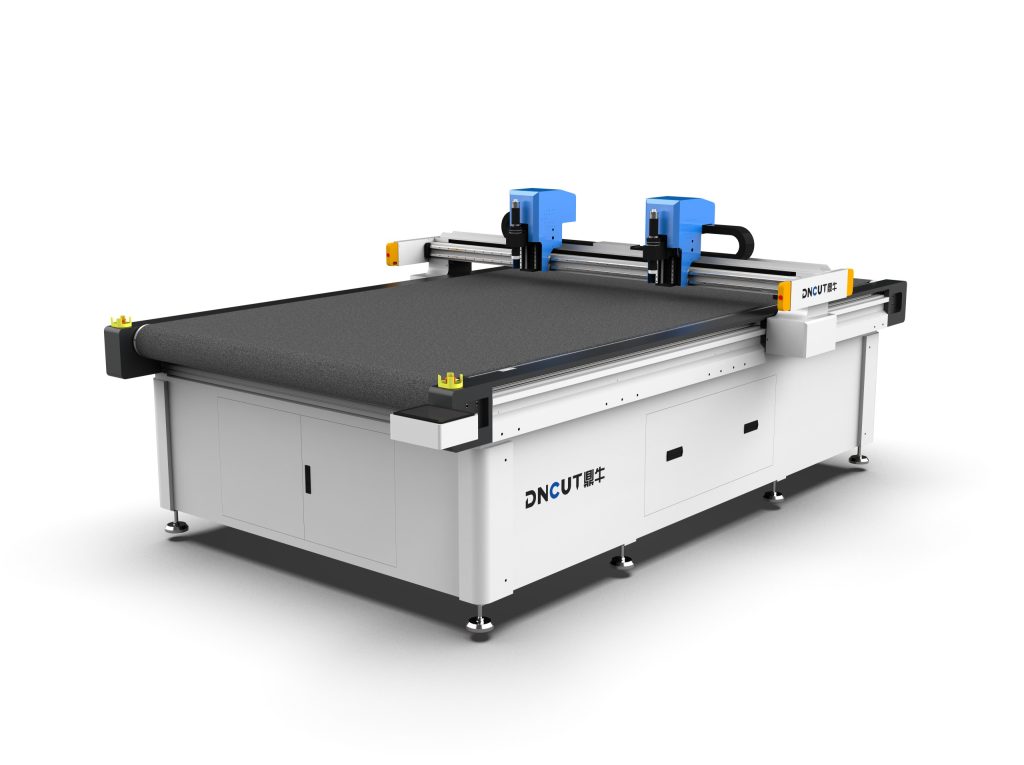
3. Table Size and Material Fixing Method
The table size should be selected according to the commonly used proofing working area. Common specifications include 600×400mm, 900×600mm, and 1300×900mm. The material fixing method directly affects cutting quality: vacuum adsorption tables are suitable for most films. For ultra-thin films (<0.1mm), it is recommended to use tables with zoned adsorption or electrostatic adsorption to prevent material displacement.
4. Tool System
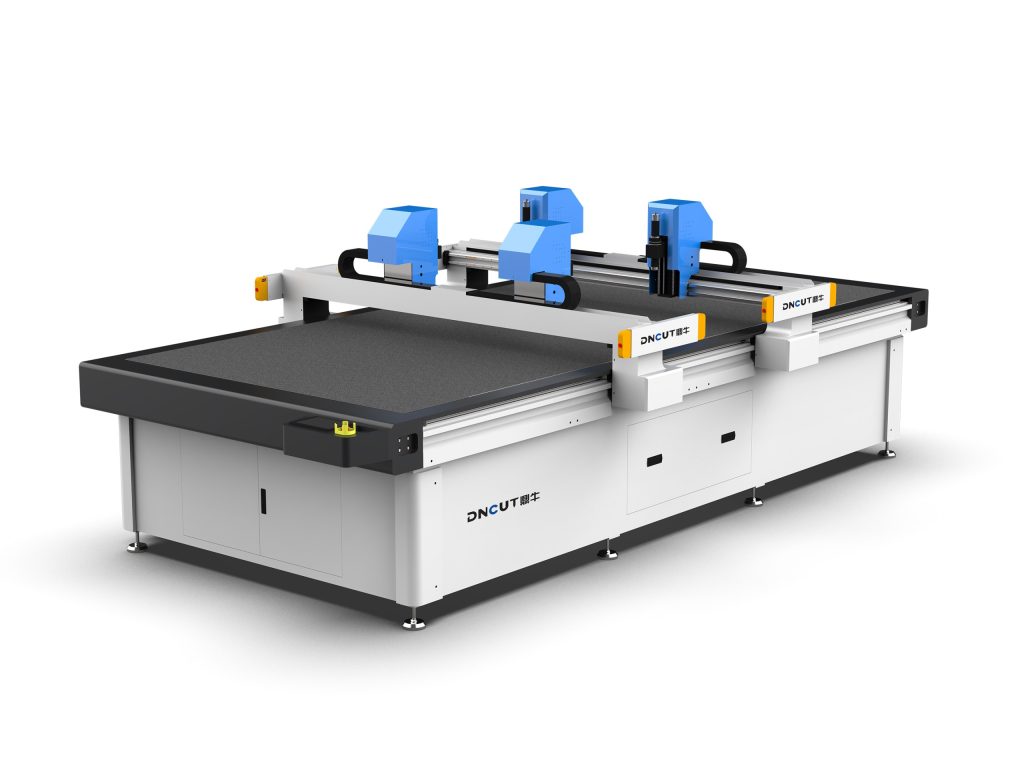
Membrane proofing machines are usually equipped with multiple tools: oscillating knife (general purpose), round knife (suitable for continuous curve cutting), drag knife (suitable for thin materials), and punch knife (for hole punching). When selecting, pay attention to tool change convenience and whether automatic tool setting is supported. For multi-layer film cutting, a pneumatic oscillating knife can be selected for greater cutting force.
5. Software Compatibility
Ensure that the equipment supports common CAD formats (DXF, DWG, AI, PDF) and direct import functions. Some models come with layout software that can optimize material utilization. It is recommended to choose an open and upgradable software system for easy subsequent integration with production systems.
Operating Process and Practical Tips
1. Material Pretreatment
Before cutting, the film needs to be placed flat to avoid wrinkles. For roll materials, it is recommended to use an unwinding device and maintain appropriate tension (usually 5-20N, adjusted according to material thickness). Control ambient humidity at 40%-60% to prevent static electricity from causing the material to attract debris.
2. Parameter Settings
Key parameters include: cutting speed (usually 200-800mm/s), oscillation frequency (18,000-25,000 times/min), and knife pressure (0.1-0.5MPa). It is recommended to perform a small sample test cut first and observe the cut edge quality. For example, when cutting 0.2mm PET film, set the speed to 400mm/s and the knife pressure to 0.2MPa to obtain a smooth cut edge.
3. Tool Maintenance
Regularly check blade wear. Usually, replacement is needed after cutting 10-20 kilometers (depending on material abrasiveness). When cutting films containing glass fiber or fillers, wear accelerates, and the replacement cycle should be shortened. Avoid collisions when storing blades and keep the cutting edge sharp.
4. Common Problems and Solutions
- Rough cut edge: Check whether the blade is worn, reduce cutting speed, or increase oscillation frequency.
- Material displacement: Increase vacuum adsorption force, or use double-sided tape to fix the edges.
- Incomplete cutting: Increase knife pressure or reduce speed, and check whether the blade tip protrudes sufficiently (usually 0.5-1mm).
- Static adsorption: Install an ion blower and maintain ambient humidity.
Application Scenarios and Selection Recommendations
Membrane proofing machines are widely used in:
- Packaging industry: Labels and flexible packaging bag samples, often with a 600×400mm table and ±0.1mm accuracy.
- Electronics industry: FPC coverlay and insulating film, requiring ±0.05mm accuracy and CCD vision alignment function.
- Automotive interiors: Instrument panel film and decorative film, requiring a large working area (1300×900mm or above) and an automatic feeding system.
- Medical industry: Medical films and dressings, requiring a clean environment; models with stainless steel tables are optional.
When selecting, it is recommended to bring actual materials to the supplier for test cutting and evaluate cut edge quality, efficiency, and operating convenience. At the same time, consider equipment scalability, such as whether CCD, automatic feeding, and other modules can be added.
Maintenance and Care
Clean the table and guide rails daily, check the pneumatic filter weekly, and lubricate transmission components monthly. During long-term shutdown, loosen the blade clamping device to avoid spring fatigue. Establish a maintenance log to record blade replacement and parameter adjustments for easy traceability of quality issues.
As the core equipment in the proofing process, reasonable selection and correct use of a membrane proofing machine can significantly improve sample quality and development efficiency. We hope this guide can provide a reference for your decision-making.