
What Is an Advertising Proofing Machine?
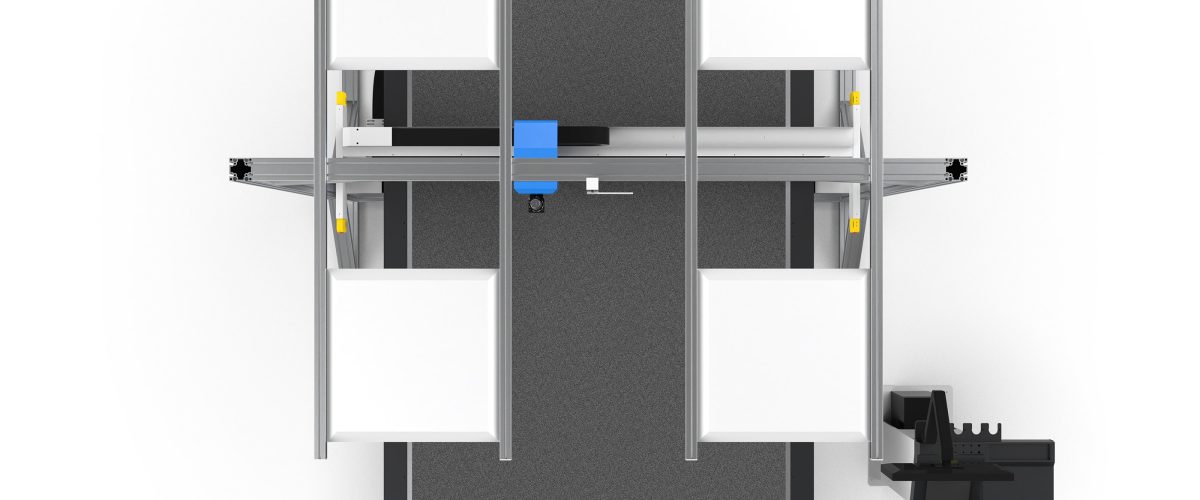
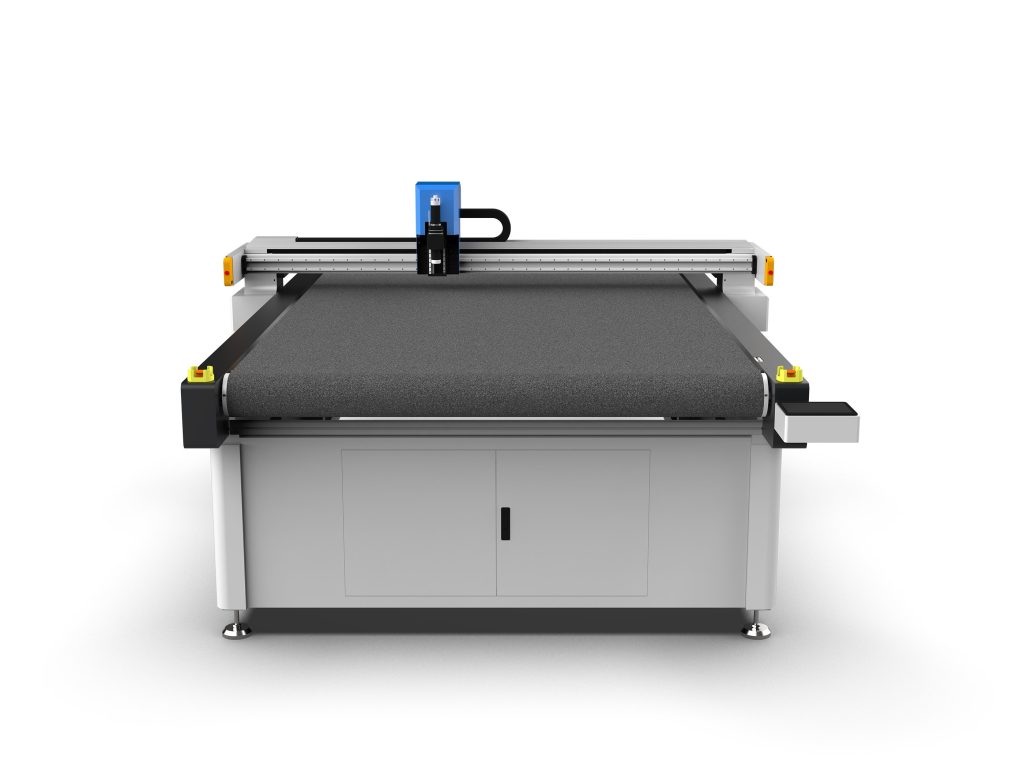
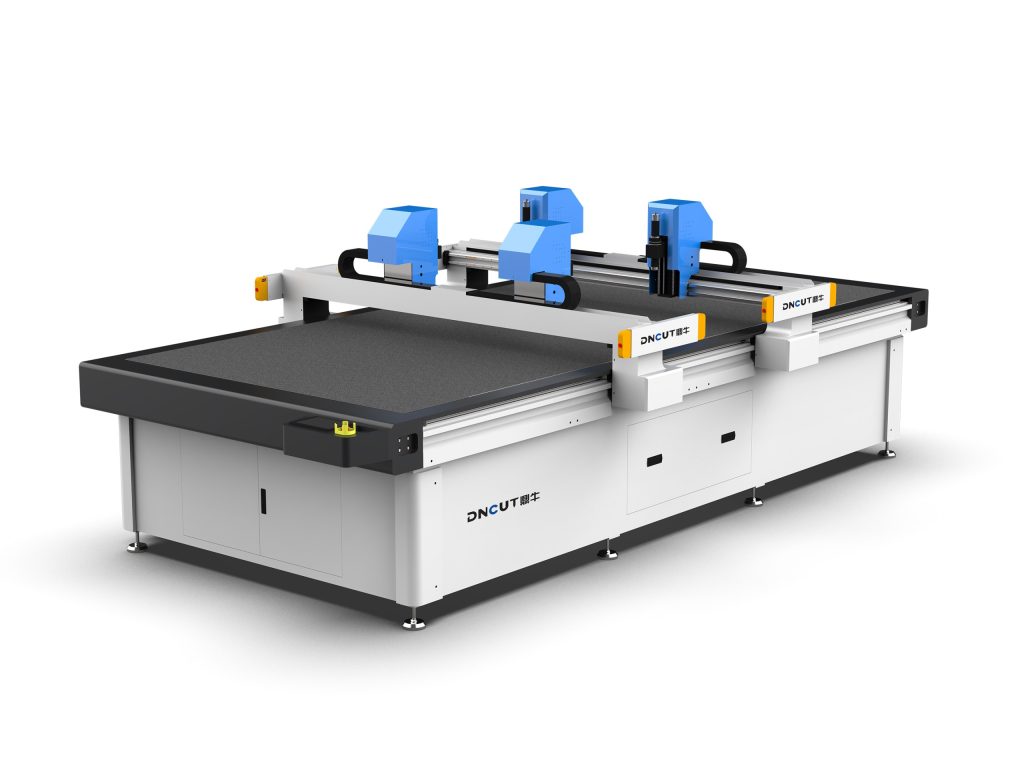
An advertising proofing machine is a CNC cutting machine dedicated to the advertising production industry, mainly used for proofing and small-batch cutting of materials such as KT board, PVC foam board, acrylic, vehicle stickers, and light box fabric. Through a high-frequency oscillating blade or laser head, it automatically cuts precise contours according to design files, replacing traditional manual engraving and significantly improving proofing speed and consistency. Advertising proofing machines usually have functions such as cutting, kiss cutting, drawing, and creasing, and are one of the core devices of advertising companies, graphic shops, and sign makers.
Core Parameters and Selection Points of Advertising Proofing Machines
1. Cutting Materials and Thickness
Different materials require different cutting tools and power. For example, KT board under 3mm can be cut with an oscillating knife; 5-10mm PVC foam board requires a more powerful oscillating knife or pneumatic knife; acrylic (2-5mm) is recommended to be cut with a laser or milling cutter. When selecting, it is necessary to clarify the types and thickness ranges of commonly used materials to ensure that the equipment capacity covers more than 80% of business needs.
2. Effective Cutting Working Area
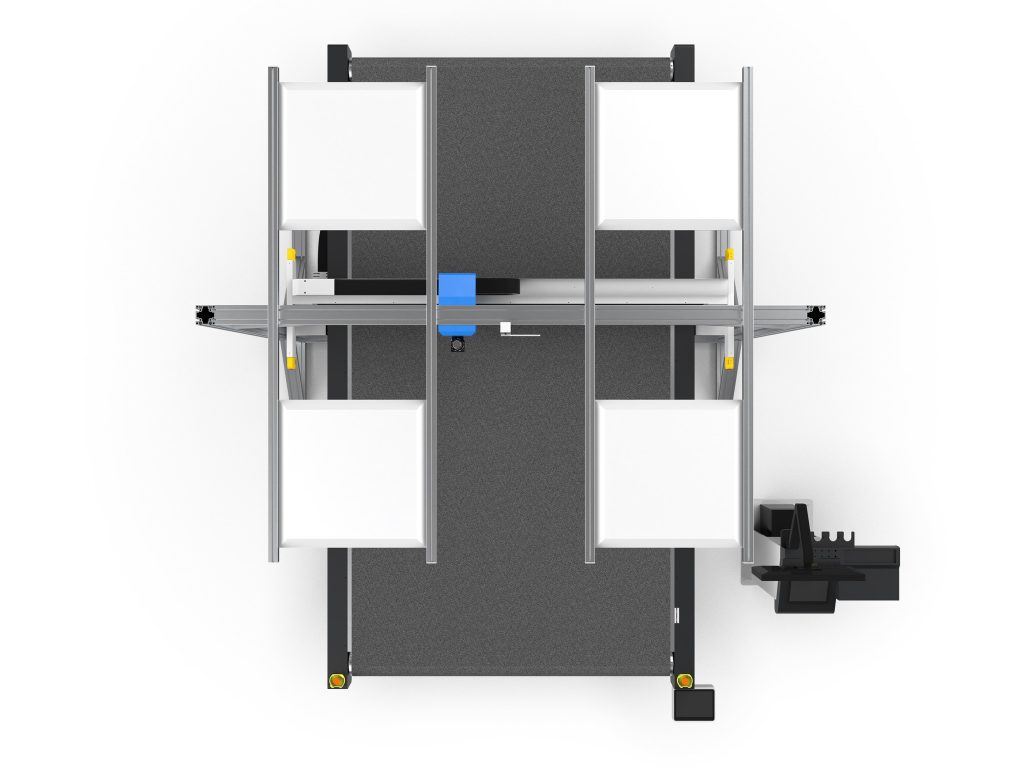
Common working areas include 600×900mm, 1300×2500mm, 1600×3000mm, etc. Advertising proofing is usually based on small and medium working areas, but if large-format light box fabric or vehicle stickers need to be cut, specifications of 1300×2500mm and above are recommended. A working area that is too small will limit applications, while one that is too large takes up space and increases cost.
3. Cutting Accuracy and Repeat Positioning Accuracy
Advertising proofing has high requirements for accuracy, especially for fine text and complex graphics. High-quality equipment can achieve a cutting accuracy of ±0.1mm and repeat positioning accuracy of ±0.05mm. When purchasing, pay attention to the quality of guide rails, lead screws or racks, and the performance of servo motors.
4. Transmission Method and Speed
Advertising proofing machines mostly use rack transmission or belt transmission. Rack transmission has good rigidity and high speed, suitable for large formats; belt transmission has lower cost but slightly inferior accuracy. Cutting speed is usually 200-1000mm/s, and idle speed can reach more than 1000mm/s. Choose an appropriate speed according to the proofing batch, and avoid blindly pursuing high speed at the expense of accuracy.
5. Control System and Software Compatibility
Mainstream control systems support formats such as HPGL, DXF, and PLT, and are compatible with design software such as CorelDRAW, AutoCAD, and Illustrator. Some devices also support automatic layout and nesting functions, which can save materials. The operation interface should be simple and easy to use, and support USB offline work.
6. Special Functions
Consider additional functions according to needs: kiss cutting function for cutting adhesive stickers (keeping the backing paper); drawing function for drawing proofing lines; creasing function for bending acrylic or cardboard; CCD vision positioning for cutting printed materials to achieve precise contour cutting.
Operating Process and Techniques of Advertising Proofing Machines
1. File Preparation
Use vector software to design files, ensuring that lines are closed and there are no overlapping nodes. Export in PLT or DXF format, and note that the unit is set to millimeters. For graphics requiring kiss cutting, set separate layers or colors so that different tools can be assigned in the cutting software.
2. Material Fixing
Lay the material flat on the worktable and fix it with a vacuum adsorption device. For thin and soft materials (such as vehicle stickers), ensure uniform adsorption force to avoid displacement during cutting. If there is no vacuum adsorption, double-sided tape or clamps can be used for fixing, but care should be taken not to affect the cutting path.
3. Tool Selection and Installation
Select blades according to the material: oscillating knife for KT board, PVC foam board, and corrugated paper; round knife for fabric and leather; drag knife for adhesive stickers and reflective film. During installation, ensure that the blade tip protrudes by an appropriate length (usually 0.5-1mm). If too short, it will not cut through; if too long, the blade is easy to break or scratch the material.
4. Parameter Setting
Set parameters such as cutting speed, knife pressure, cutting depth, and kiss cutting depth in the control software. It is recommended to conduct a small sample test cut first to observe the quality of the cut seam and whether it is cut through. For multi-layer materials, the speed should be appropriately reduced and the knife pressure increased.
5. Cutting and Inspection
After starting cutting, observe the cutting condition of the first piece and adjust parameters in time. After cutting is completed, check dimensional accuracy and edge smoothness. For stickers requiring kiss cutting, check whether the backing paper is intact.
Common Problems and Solutions
- Material not cut through: Check whether the blade tip is worn, whether the knife pressure is insufficient, and whether the speed is too fast. Try replacing the blade or increasing the knife pressure.
- Burrs on cutting edges: Usually caused by dull blades or excessive speed. Reduce speed, replace the blade, or use imported blades with higher sharpness.
- Graphic size deviation: Check whether the transmission belt or rack is loose and whether the step parameters are accurate. Recalibrate the equipment.
- Inconsistent kiss cutting depth: Ensure uniform material thickness, adjust the kiss cutting depth, and test multiple times. Use a tool holder with fine adjustment function.
- Insufficient vacuum adsorption force: Check the vacuum pump power, whether the pipeline leaks, and whether the adsorption area is sealed. Add adsorption pads or use tape to seal the edges.
Maintenance and Care
After daily work, clean debris from the table and guide rails to avoid accumulation affecting accuracy. Check blade wear every week and replace in time. Lubricate guide rails and lead screws monthly, and check belt tension. Calibrate equipment accuracy once a quarter, using standard test files to cut and measure. When not in use for a long time, disconnect the power supply and take dust-proof measures.
Purchasing Suggestions and Cost Analysis
The price of advertising proofing machines ranges from several thousand yuan to more than one hundred thousand yuan, mainly depending on working area, configuration, and brand. Entry-level equipment (600×900mm, stepper motor) costs about 5,000-10,000 yuan, suitable for small graphic shops; mid-range equipment (1300×2500mm, servo motor, vacuum adsorption) costs about 30,000-60,000 yuan, suitable for medium-sized advertising companies; high-end equipment (with CCD vision and automatic tool change) can reach more than 100,000 yuan, suitable for large sign enterprises. It is recommended to choose according to business volume and development plans, giving priority to after-sales service and spare parts supply.
Summary
Advertising proofing machines are key equipment for improving the efficiency and quality of advertising production. When purchasing, it is necessary to comprehensively consider materials, working area, accuracy, functions, and budget, and pay attention to parameter adjustment and daily maintenance during operation to fully realize the value of the equipment. With the growing demand for personalization and short delivery times in the advertising industry, a suitable proofing machine will become a powerful tool for business expansion.