
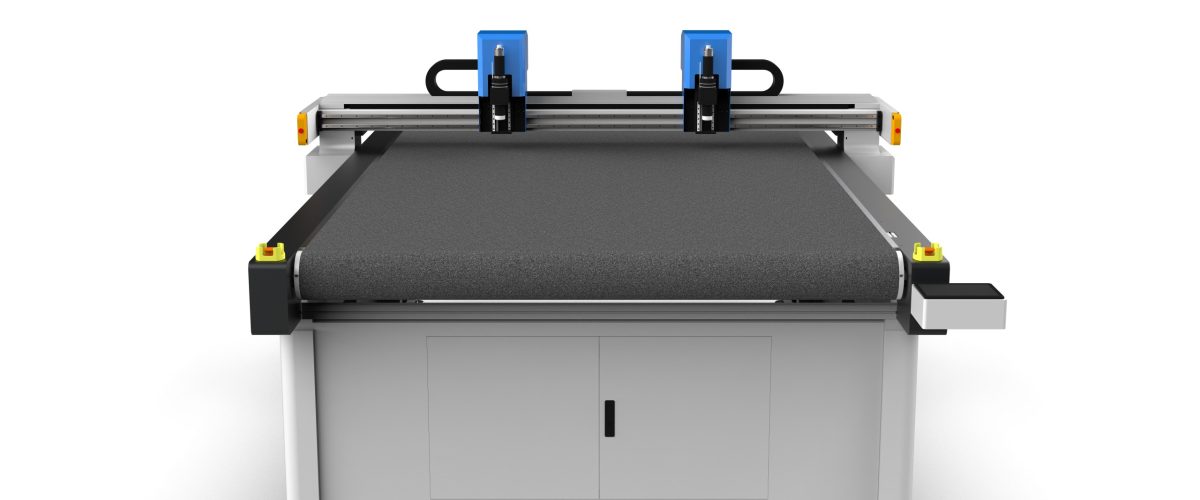
What is a color box sample cutting machine?
A color box sample cutting machine is a CNC cutting device specially used for proofing color packaging boxes (such as cosmetic boxes, food boxes, and electronic product boxes). It uses a high-frequency oscillating blade to cut, crease, and draw on materials such as cardstock, corrugated paper, and gray board, quickly producing samples consistent with mass production. Compared with laser cutting, the sample cutting machine has no burnt edges and no smoke or dust, making it more suitable for color box proofing that requires high cleanliness.
Core parameters and selection points
1. Working area
Common working areas include 600mm×500mm, 900mm×600mm, 1200mm×800mm, etc. When selecting, consider the maximum unfolded size of the color box and reserve space for fixtures. For example, if you often make color boxes with an unfolded size of 800mm×600mm, it is recommended to choose equipment with a working area of at least 1000mm×700mm.
2. Cutting accuracy and repeat positioning accuracy
The cutting accuracy of a color box sample making machine is usually ±0.1mm, and the repeat positioning accuracy should be ≤0.05mm. High-precision equipment can ensure consistency across multiple batches of samples and reduce assembly errors.
3. Tool system
It should be equipped with multiple tools: the oscillating knife is used for cutting cardboard and corrugated paper, the creasing wheel is used for making creases, and the drawing pen is used for marking and drawing. Some high-end models are also equipped with a V-groove knife for 45-degree or 90-degree V-groove cutting of thick cardboard.
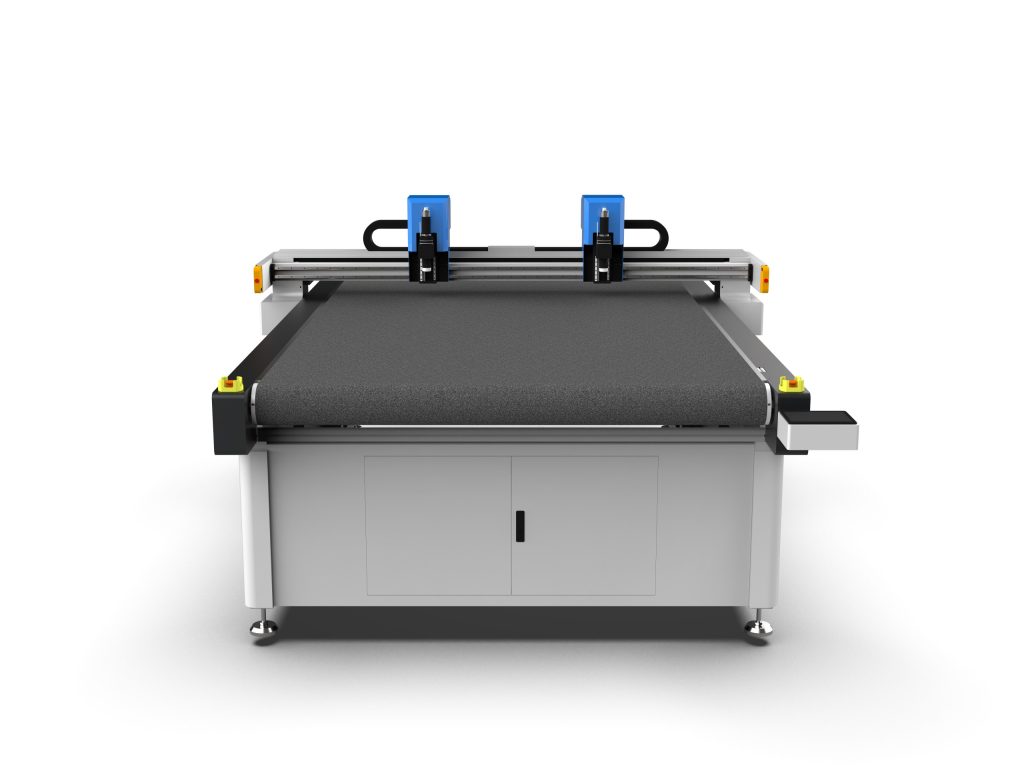
4. Vacuum suction system
The vacuum adsorption table can firmly secure materials and prevent displacement during cutting. The adsorption force should be adjustable to accommodate materials of different thicknesses and air permeability. For corrugated cardboard, an adsorption force of ≥-80kPa is recommended.
5. Control System and Software
The equipment should support common CAD formats (DXF, AI, PDF) and be equipped with dedicated proofing software that can automatically identify cutting lines, crease lines, and drawing lines. The software should have functions such as array duplication, bridging, and automatic nesting to improve proofing efficiency.
Operating Procedure and Practical Tips
1. File Preparation
Use AI or CAD to design the unfolded diagram of the color box, ensuring that the lines are closed, and that different processes (cutting, creasing, drawing) are placed on separate layers. The line width is recommended to be set to 0.1mm to avoid repeated cutting.
2. Material Fixing and Tool Setting
Lay the material flat on the table and turn on the vacuum adsorption. When setting the tool, use the tool setting block supplied with the machine to ensure the knife tip just touches the material surface. For corrugated cardboard, the knife tip should slightly pierce the flute tips, but not too deep, so as to avoid cutting through the flute peaks and affecting strength.
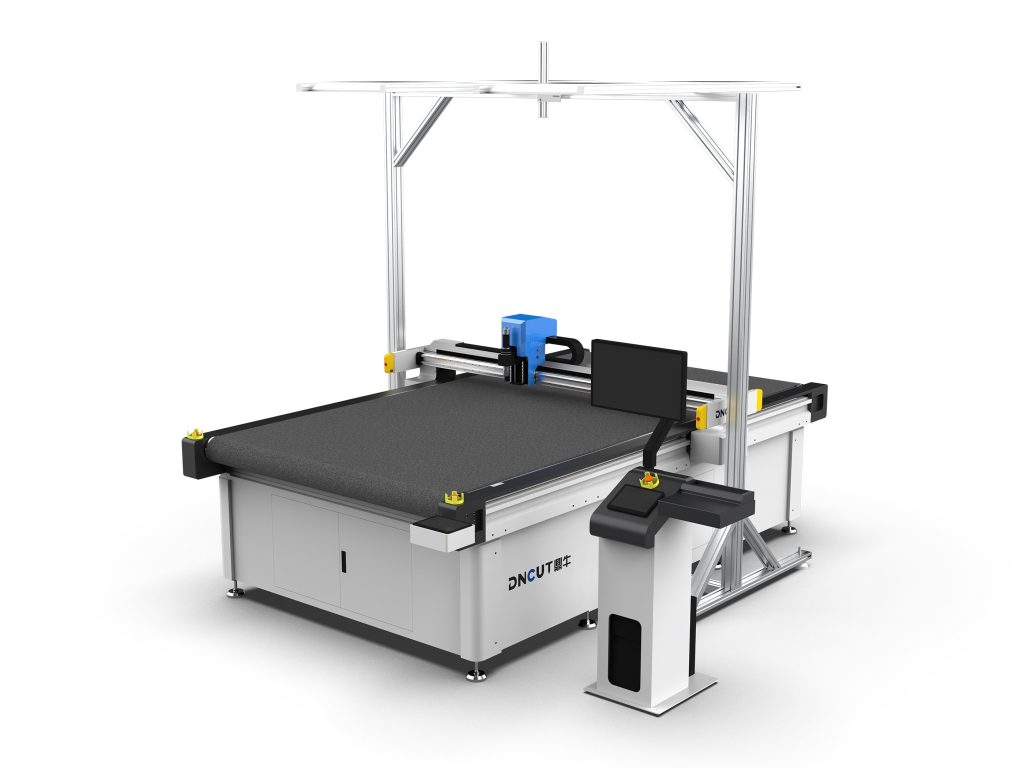
3. Parameter Settings
Adjust cutting speed, knife pressure, and vibration frequency according to the material type. Reference parameters are as follows:
- Cardboard (250-350g): speed 30-50mm/s, knife pressure 0.2-0.3MPa, medium vibration frequency.
- Corrugated paper (E-flute, F-flute): speed 20-40mm/s, knife pressure 0.3-0.4MPa, high vibration frequency.
- Greyboard (1.5-2.0mm): speed 15-25mm/s, knife pressure 0.4-0.5MPa, requires a V-groove knife or multiple passes.
Creasing parameters: the crease line width should match the paper thickness, usually 1.5 times the paper thickness. The creasing pressure should be such that it leaves a clear mark on the paper surface without cracking.
4. Test Cutting and Adjustment
Before formal cutting, perform a small-area trial cut to check the cutting depth and creasing effect. If the cut does not go through, increase the knife pressure or reduce the speed; if the crease is too deep and causes the paper to break, reduce the pressure or replace the creasing wheel.
5. Post-processing
After cutting is complete, use an air gun to remove dust and carefully separate the waste. For complex structures, tweezers can be used as an aid. When gluing and forming, it is recommended to use the same glue as in mass production to verify the bonding effect.
Common Problems and Solutions
1. Rough cutting edges
Cause: blade dulling, vibration frequency too low, or speed too fast. Solution: replace the blade, increase vibration frequency, reduce cutting speed.
2. Crease line cracking
Cause: creasing pressure too high, creasing wheel too narrow, or paper moisture content too low. Solution: reduce pressure, replace with a creasing wheel of appropriate width, or humidify the paper.
3. Material displacement
Cause: insufficient suction force or material air permeability too strong. Solution: increase suction force, seal the material edges with tape, or cover with a film to reduce air permeability.
4. Cutting accuracy deviation
Cause: uneven table surface, worn guide rails, or loose belts. Solution: regularly calibrate the table levelness, check the tension of guide rails and belts, and contact the manufacturer for maintenance if necessary.
Maintenance and Care
- Clean the table and guide rails daily to remove paper scraps and dust.
- Check blade wear weekly and replace in time.
- Lubricate the guide rails and lead screws monthly with special grease.
- Calibrate the equipment accuracy once a quarter, including table levelness and repeat positioning accuracy.
- When out of service for a long time, disconnect the power, cover with a dust cover, and power on and run periodically.
Selection Suggestions and Summary
When selecting a color box die-cutting sample maker, you should comprehensively consider your own product characteristics (material type, maximum size, precision requirements) and budget. It is recommended to prioritize models equipped with automatic tool setting, a multi-tool system, and a user-friendly software interface. For small and medium-sized packaging enterprises, a model with a working area of 600mm×500mm can meet most needs; large enterprises or design companies can choose a larger table and be equipped with an automatic tool changing system. Correct operation and regular maintenance can significantly extend equipment life and ensure stable proofing quality.